Light Show!

This primer will take you through the steps to learning how to control your CodeX with Python. All you need is your CodeX and a Chrome Web Browser.
Ready to get started? Open your browser to sim.firialabs.com and let’s do this!
Login to CodeSpace so you can SAVE your Python code!
It’s not mandatory, but CodeSpace account is free and it lets you save your files as well as your progress when you go through the online Missions. BTW - you should have received a license for the full “Intro to Python with CodeX” curriculum when you bought your CodeX. That’s an even better way to get introduced to coding with CodeX! For more info on that, check here: https://firialabs.com/blogs/support-forum/virtual-robotics-getting-started
For the Primer, you’ll need to be in “Explore Mode”
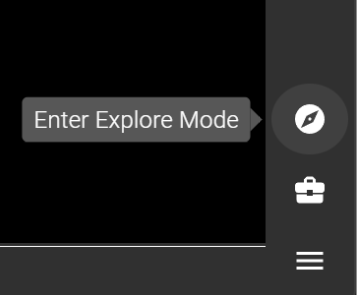
Click this icon at the lower-right of CodeSpace to enter Explore Mode.
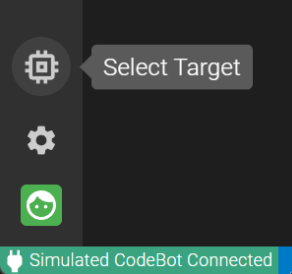
Then click the Select Target icon on the left side of the window.
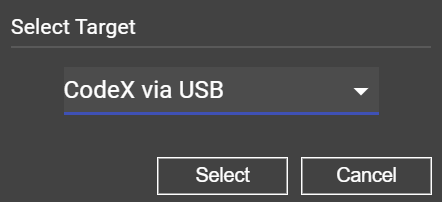
Finally, choose “Codex via USB” as your Target device.
After you’ve done the above steps, the connection status bar at the lower-left of your window may be , meaning you need to plug your CodeX into your computer (using a USB-C cable) and click the connection status bar to get connected! (see the Select Target box above for what it looks like when connected properly.)
Now that you’re connected, on with the Primer!
1. Turn on a RED LED
Blinking an LED is often the first “Hello World” program for embedded devices like CodeX. As a first step, let’s light one of the red LEDs just beneath the LCD screen.
Type the following into CodeSpace. Remember, you don’t have to type in the
#comments.
# Very first CodeX program - Lights ON!
from codex import *

leds.set(0, True)
The code above uses the codex module, which provides functions to control and monitor all the hardware
on CodeX. Take a look at the documentation for codex.LEDs.set to see how this function works.
2. A sequence of LEDs
Next try lighting more of the red LEDs, as shown below.
Note: to slow things down a bit, this code imports the
timePython module. The functiontime.sleepadds a delay before each LED turns on.
from codex import *
import time

leds.set(0, True)
time.sleep(1.0)
leds.set(1, True)
time.sleep(1.0)
leds.set(2, True)
time.sleep(1.0)
leds.set(3, True)
3. Blink an LED in an infinite loop
- Now let’s try an infinite
whileloop in Python. The code that’s indented beneathwhile True:will repeat continuously. Do you see how to exit the loop?
from codex import *
import time

while True:
    leds.set(0, True)
    time.sleep(1.0)
    leds.set(0, False)
    time.sleep(1.0)

    if buttons.is_pressed(BTN_A):
        break
The exit code above uses codex.Buttons.is_pressed to detect if BTN_A is being pressed. If it is, The break statement
breaks the code out of the loop!
4. The A and B LEDs
CodeX has two more red LEDs located above Buttons A and B. The following code will toggle the LEDs ON/OFF state when the corresponding button is pressed.
from codex import *
import time

a_on = False
b_on = False

while True:
    if buttons.was_pressed(BTN_A):
        a_on = not a_on
        leds.set(5, a_on)
        time.sleep(0.1)

    if buttons.was_pressed(BTN_B):
        b_on = not b_on
        leds.set(4, b_on)
        time.sleep(0.1)